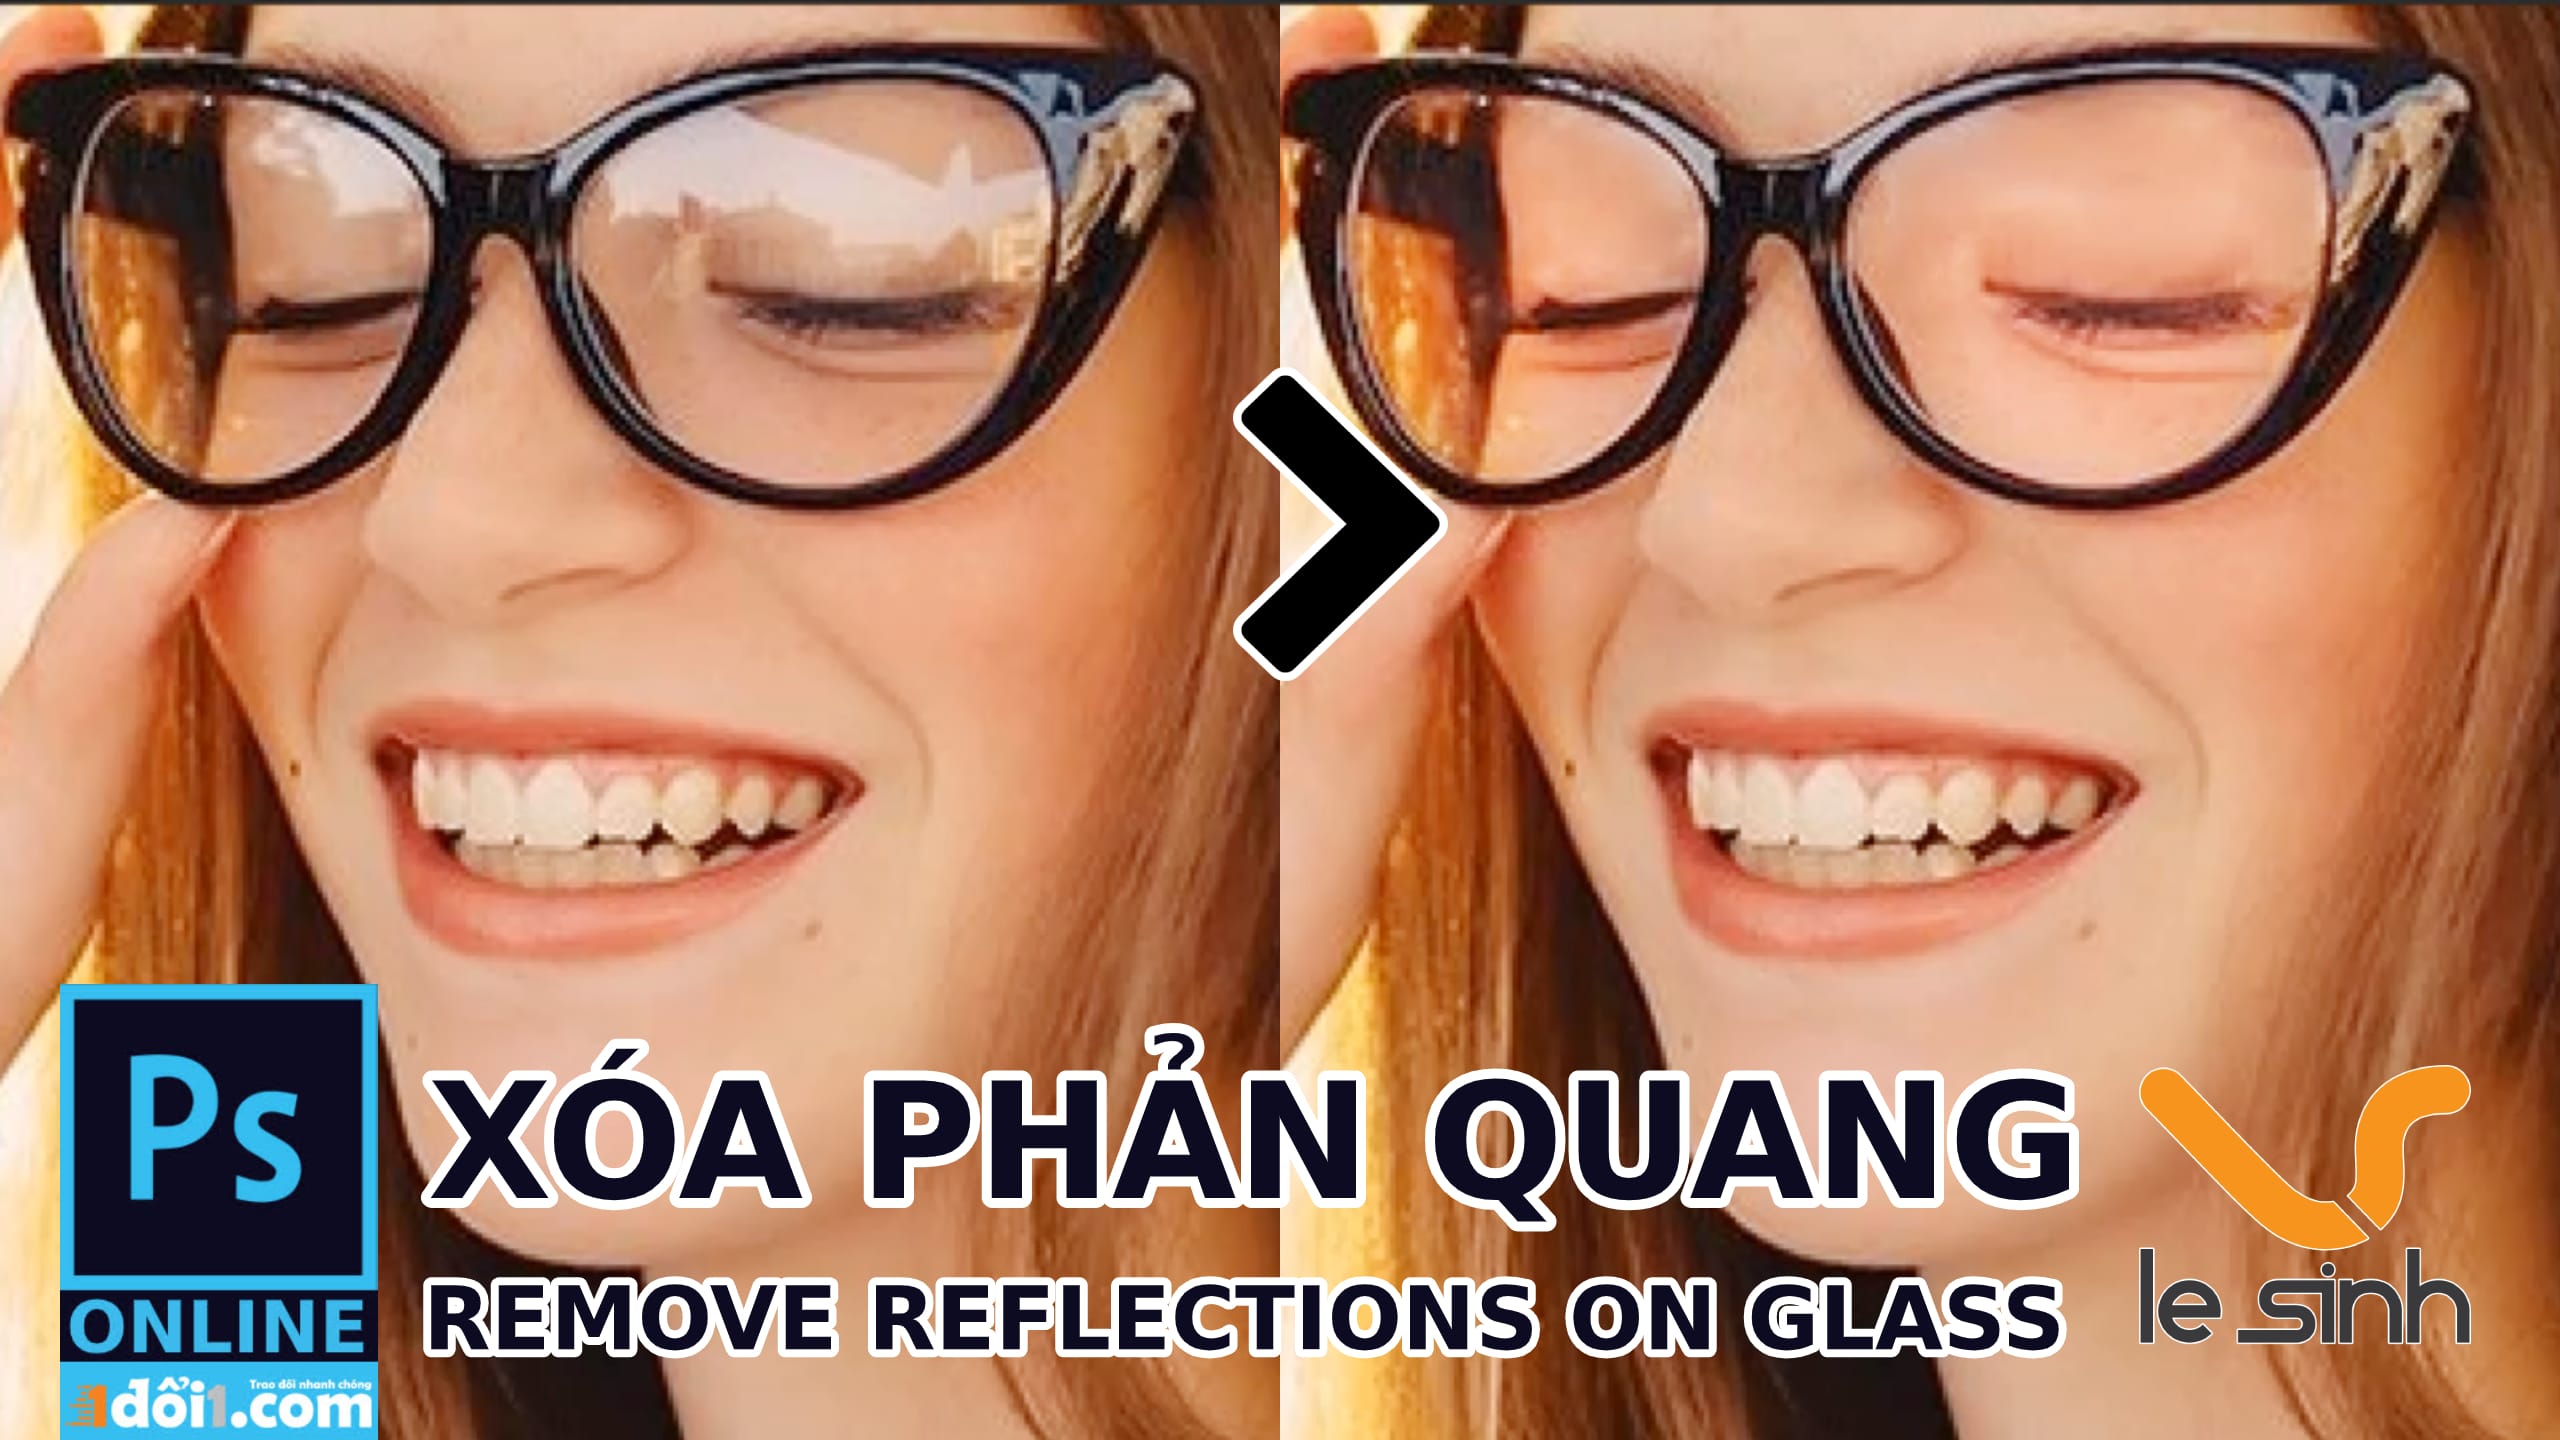
How to remove glass reflections in adobe photopea helps to eliminate reflections on reflective glass. Removing reflections on glass with adobe photopea makes images look better and makes images easier to see.
Wearing glasses for photography often experiences reflections of light and objects in the wearing glasses deteriorate. This Tutorials photoshop helps to remove reflections on the glass when you take pictures. Editing in photoshop online.
In the modern world, wearing sunglasses or glasses is already too common. Especially for near-sighted people, wearing glasses more or less obstructs daily activities and many people want to get rid of glasses.
Also in the photo shoot. When taking pictures, you are nearsighted. Reflections from objects and ambient light on the glass will cause glare. The picture will be less beautiful.
What is the way to remove glass reflections?
Removing reflections on the glass is a way to use photoshop online, adobe photopea or adobe photoshop software to erase the reflected images on the glass when you take pictures. Measured words bring more satisfactory pictures.
When you clear the reflections on the glasses your eyes will become more obvious in the photo. This will attract more attention from others when looking at your pictures.
Software adobe photopea will help you remove and remove reflections on the glass in the image in the best way. With detailed instructions. You can do it at home.
Remove glass reflections with adobe photopea
Open the file and multiply the image panel
Step 1: First of all, make sure you have the photo file you are looking for on the glass to erase ^^. Here I have a file sourced from the internet as an example.
Open the file with Ctrl + O key in Photoshop or most of today’s software use this way.
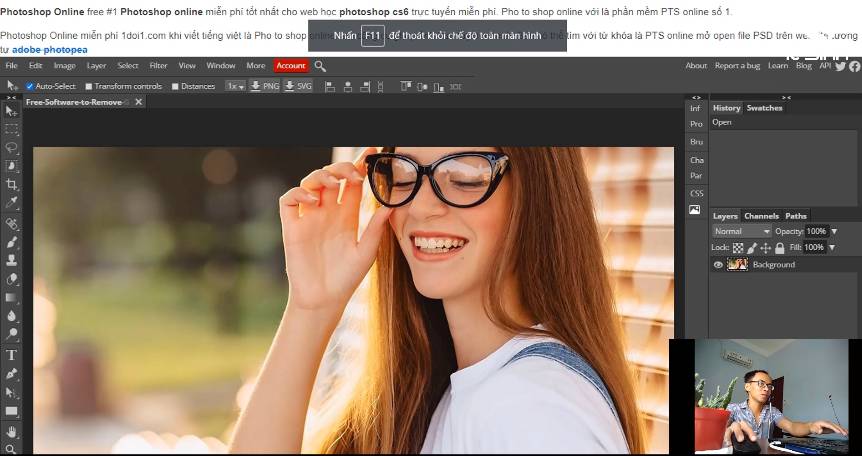
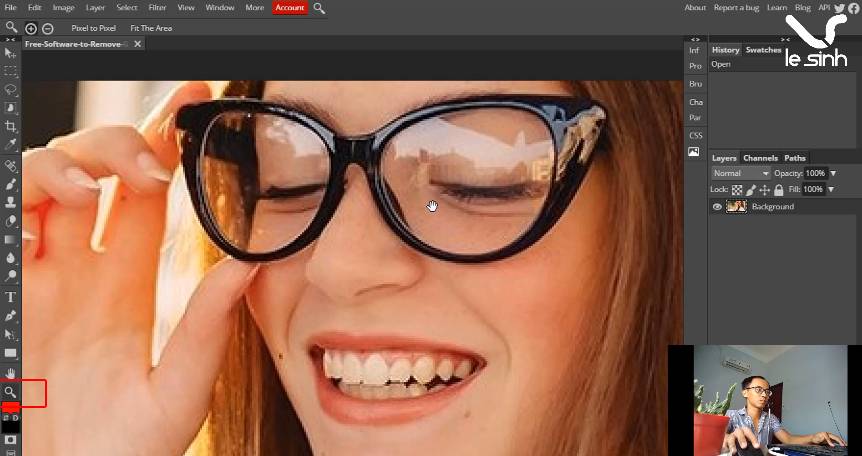
Step 2: Enlarge the image to easily erase the reflections on the model’s glasses in the photo. Otherwise enlarge the image. I think you’ll have a hard time doing it.
Because the image will be quite small, and the accuracy is not guaranteed when using the tool. Erase errors, delete bad! So zoom up with the keyboard shortcut “Ctrl and plus (+) or zoom out with Ctrl and the minus key (-).”
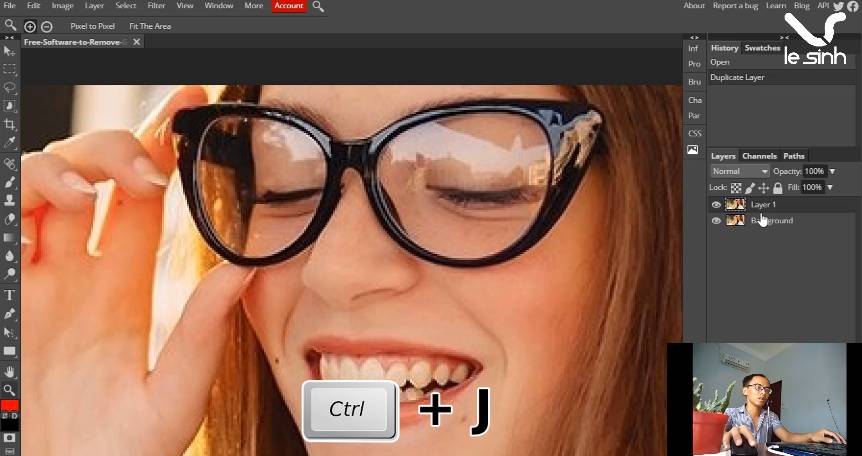
Step 3: What I recommend is that you duplicate the original image using Ctrl + J. The reason for this is that you will definitely need eight original images to compare when editing.
And you can reuse the original image if you need to copy a new selection or start over in case the image file is corrupt. So remember to execute the table multiplication command in adobe photopea
Use the Clone Tool (S) in photoshop online
Let’s talk a little bit about clone tool in photoshop online. This is a tool to help you later copy selections on the image. Then “clone” and duplicate it anywhere on the image.
The goal is to create a copy of the selected area, the copy will be displayed on another area. There is similar to Copy and Paste. But performing better makes the photo better.
Step 4: Finished opening the image file to remove the reflection on the glass. Now we’ll start using the tool to erase the reflection on the model’s glasses in the image.
There are many ways to remove the upper reflection in glass or on glass. But I will use the Clone Tool (S) in this online photoshop software.
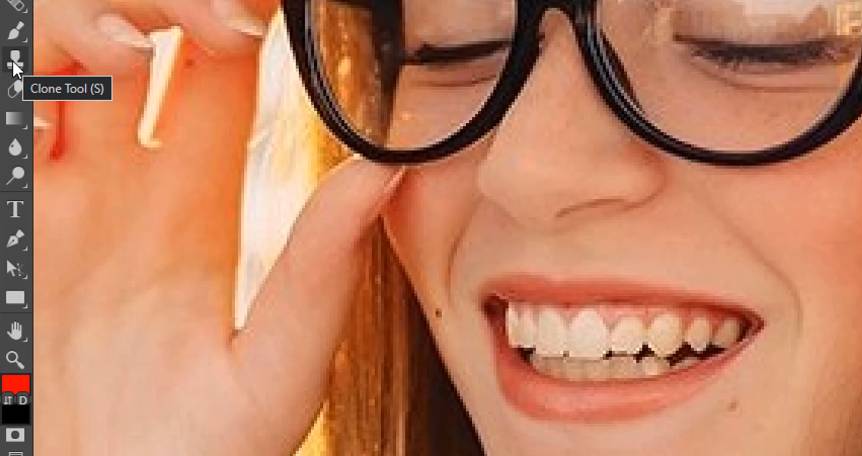
To use the Clone Tool in online photoshop. Please right click. A moment ago a parameter table will appear. Please pay attention to parameters such as:
Opacity (100% clone level / per click or less).
Size is the size of the clone area for each click.
Choose a brush stroke. Dark or light.
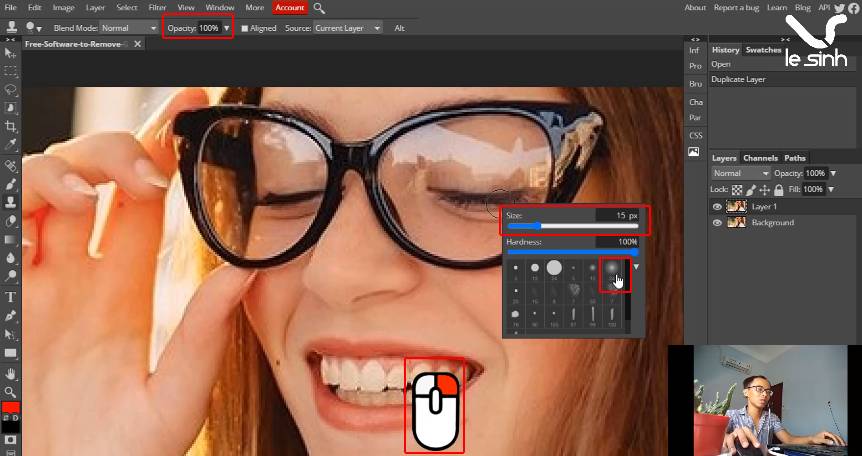
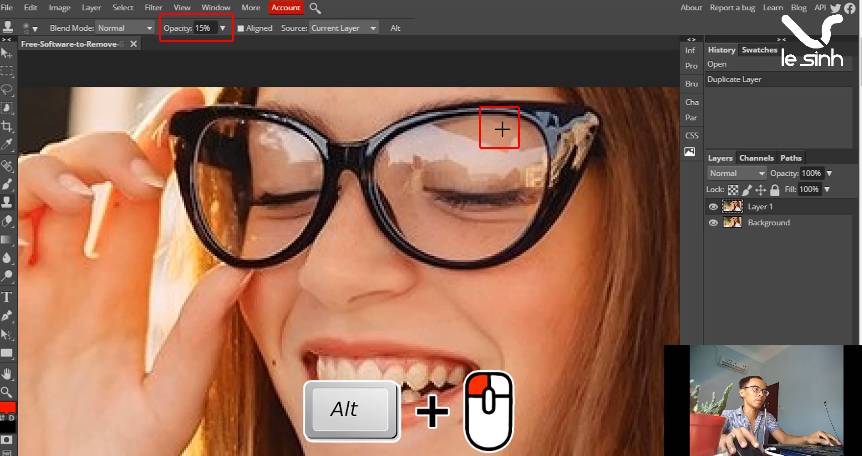
I’ll set the Opacity to 15% (It depends on your needs. It doesn’t have to be like me in this regard).
Press Alt + Left mouse key. Left mouse over the area you want to clone. Notice in my picture. The area I want to clone will show a plus sign (+).
Then, release the Atl key! and then left-click on the area you want to delete (reflective area). Just like that until your photo is perfect.
Execute the command Atl + Click left on other areas of the image. Make the photo look more natural. Balancing shadows and highlights makes your photos look more realistic and lumpy.
And here I have done to erase the reflection on the glass with photoshop online adobe photopea after left clicking many times. But the picture looks dark in the eye area. Pretty ugly, right?
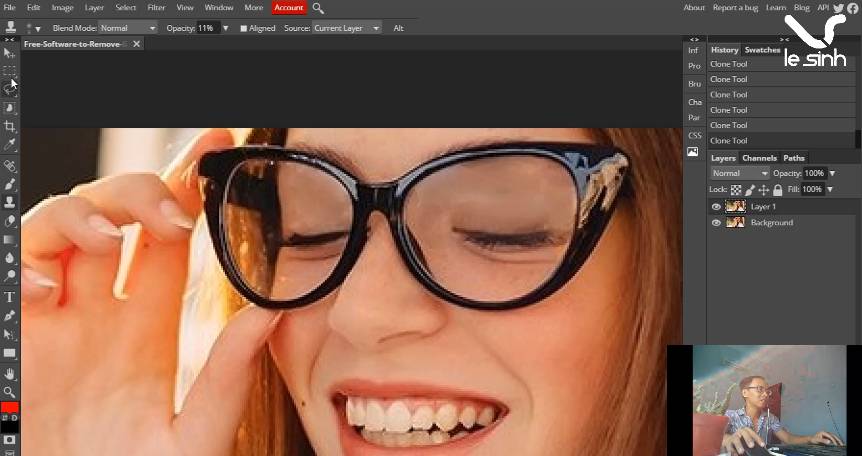
Isolate the object from the background using the Magic Wand
Step 5: Use Magic Wand tool (or Lasso Select or other tools) to make a selection on the image. I will separate the eyes.
Separate left and right eye with Magic Wand tool in photoshop online to separate object.
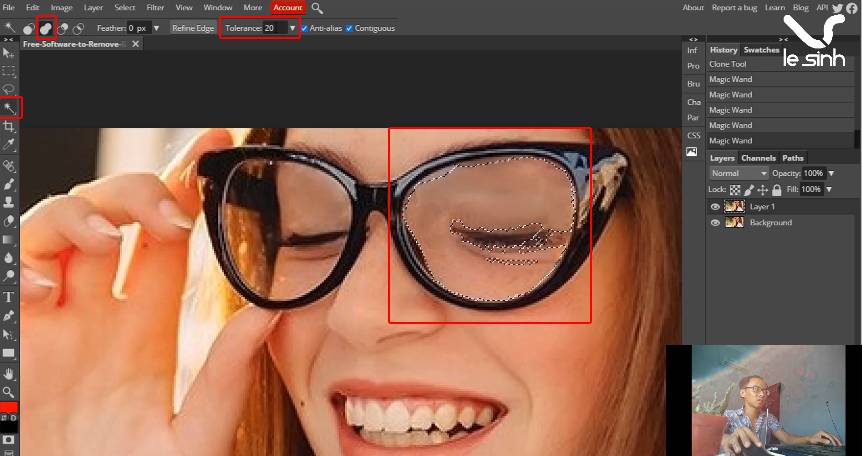
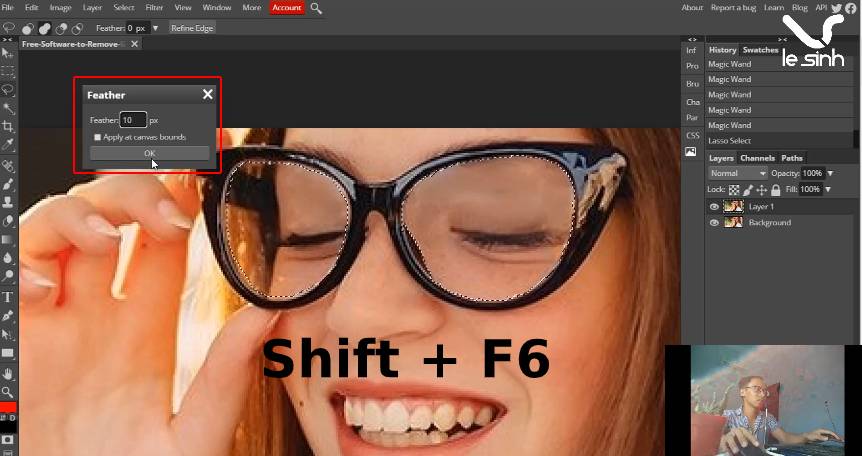
Step 6: Customize the Feather parameters of the selection by Shift + F6. I will use the parameter: 10. What is the Feather parameter for?
When you are done making a selection. By default Feather = 0, will select 100% of the cropped area (borders, edges). I corrected the Feather = 10. It helps the border (edges) fade inward (blending with the background).
Cuves and brightness / contrast in photoshop online
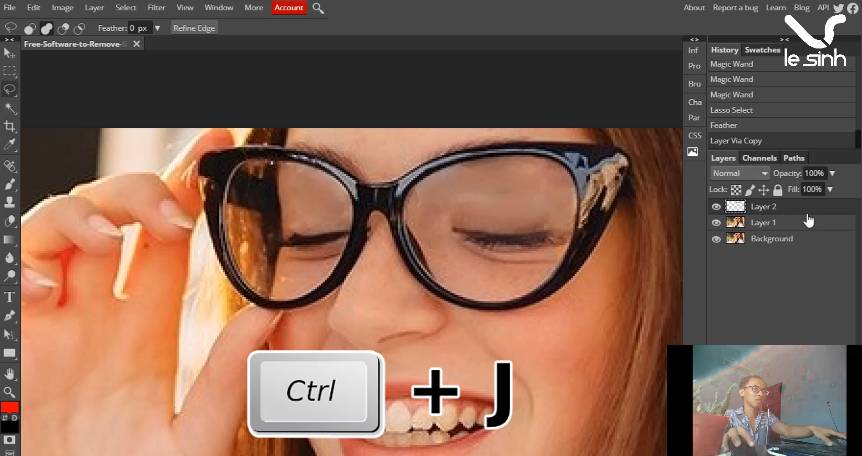
Step 7: Duplicate the selection with the keyboard shortcut Ctrl + J, into a new layer for easy management and editing for the next work that I will talk about right now.
The reason I separate the eyes from the original photo. Because I want to increase the brightness. As you can see, the model’s eye area is quite dark! So I think I will increase the Cuves parameter and brightness / contrast in photoshop online.
The goal is to make the eye area brighter and brighter.
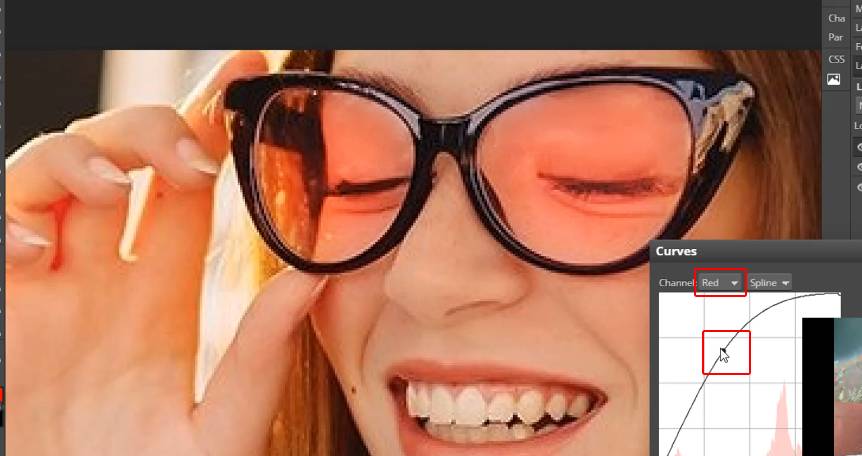
Step 8: Use Curves in online photoshop to increase the brightness and brighten the area. Balance with the skin outside of the model. image> Adjusments> Curves (or the keyboard shortcut Ctrl + M)
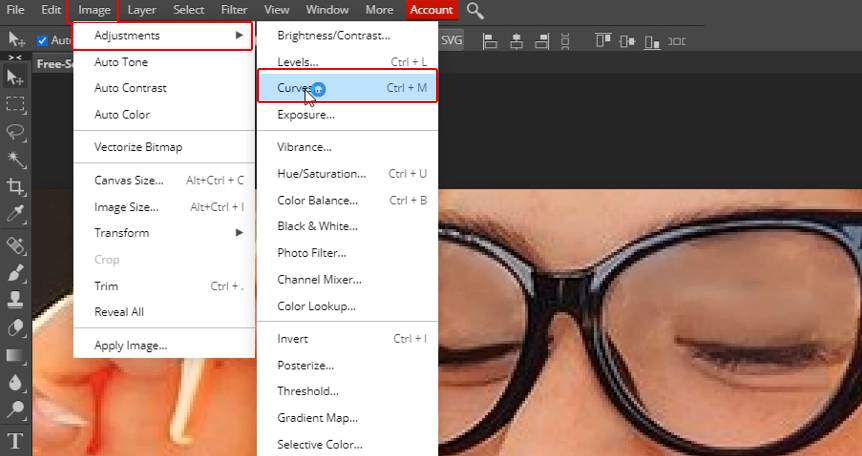
I use Chanel: Red (as it seems to match the model’s skin tone). And drag the line upwards, the red will be more vibrant. Helps remove dark colors from the original image.
Step 9: Increase the brightness with the brightness / contrast tool in photoshop online. Follow the path image> Adjusments> brightness / contrast.
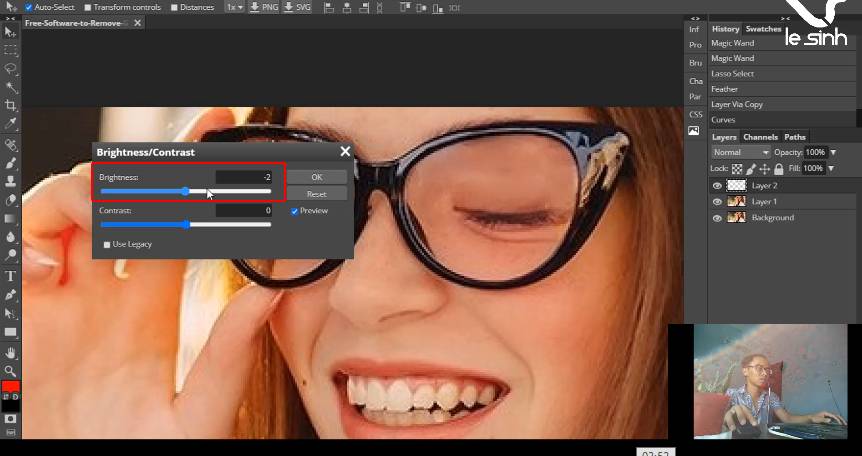
At this point, I think the picture is pretty good. So it will stop here. Wish you success and hope that it is useful to you. Thank you for watching all this video.
Video instructions to remove reflections on glass with adobe photopea
Click on the ad if you need to thank me. Have a good day.