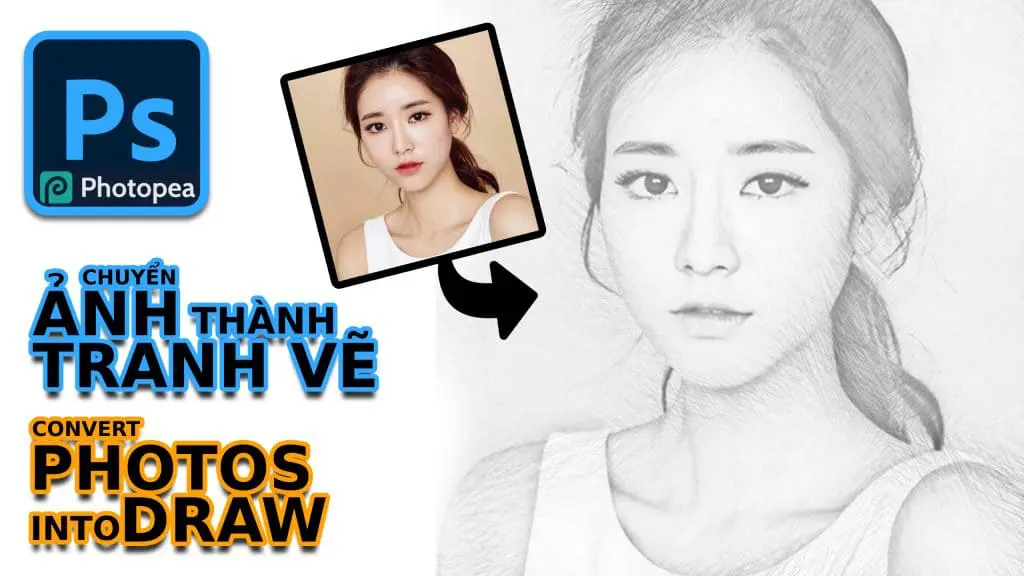
The guide to convert photos into drawings into photoshop online on photopea ‘s website platform helps to turn convert photos into drawings simply and quickly for those you want to have pictures drawn with pencil.
With how to convert photos into drawings in photoshop! You almost immediately have pencil drawings to store your memories. Even if you do masterful manipulation in online photoshop, you absolutely have a photo that almost resembles a real pencil painting.
What is drawing with pencil?
From a hundred years to a thousand years before that of mankind. The technique of drawing with pen to recreate scenes and people has been made. And drawing with pencil (pen) is using a pen to draw on paper or other different materials thanks to the talent of the artist.
And pen painting has almost gone into the subconscious for generations. So in order to own a drawing with a pen, there is always something that people can impress and want to keep. Grasping that, the website would like to guide convert photos into drawings.
Instructions for convert photos into drawings
After talking briefly about the concept of drawing with pen. I would like to go into the details of the tutorial to convert photos into drawings with photoshop online (photopea) or adobe photoshop PC version which is almost similar to online software. So you can apply them together for adobe photoshop.
Basically this is a photo editing technique with photoshop to create the desired product of the graphic designer from combining images and online photoshop tools available in the software and combined to create the product. final product.
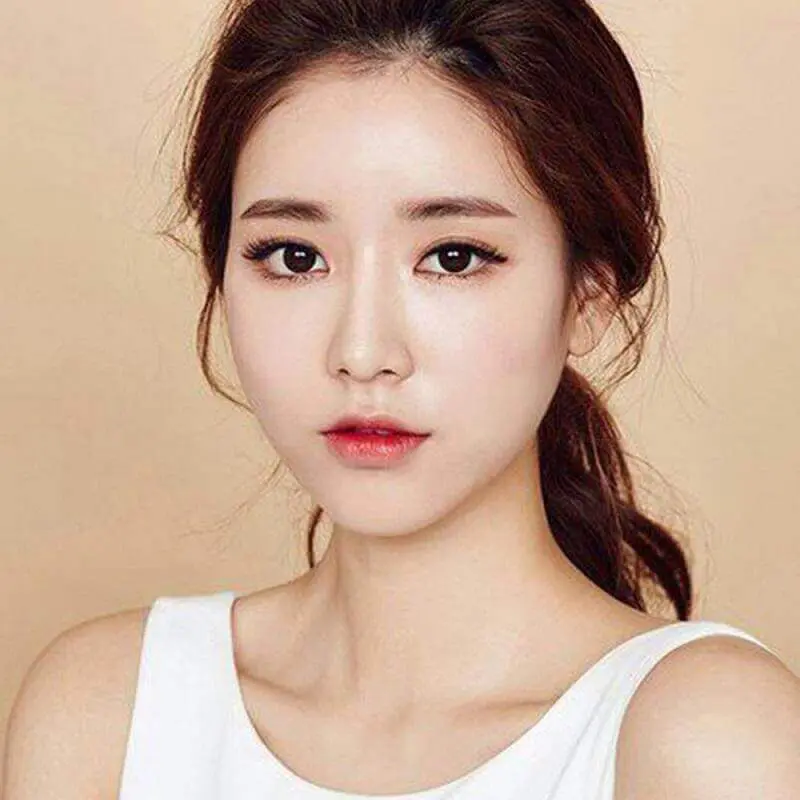
Raw materials made
You can download this image to match the tutorial. Note: open image in new browser tab> remove .webp in image link. This means that the image link is only htttps: //……/.jpg or htttps: //……/.jpeg
Detailed instructions
Step 1: Open the downloaded image with CTRL + O command (File> Open)
Step 2: Rename the layer with the girl to make it easier to manage. I will rename the layer to “the girl”.
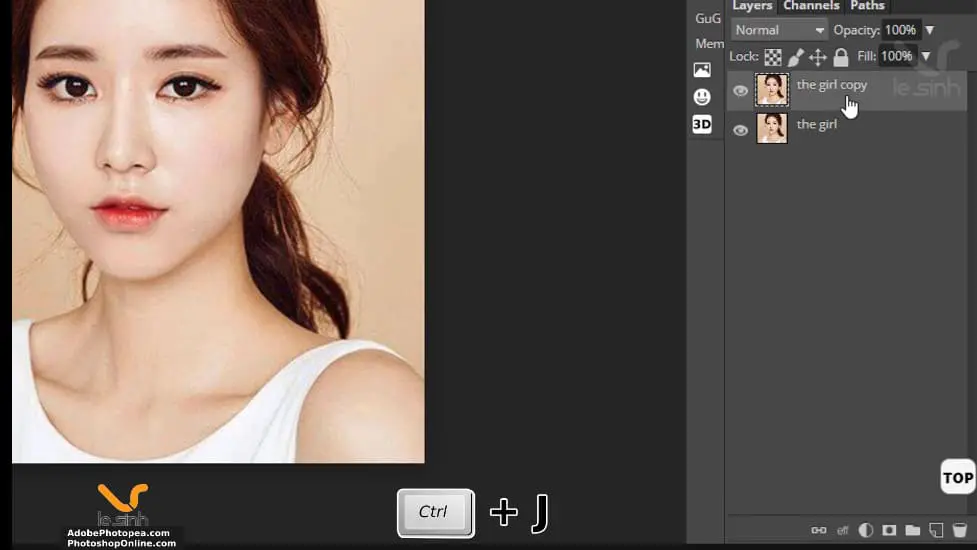
Step 3: Duplicate layer The Girl with CTRL + J command. We will get the layer “the girl copy”.
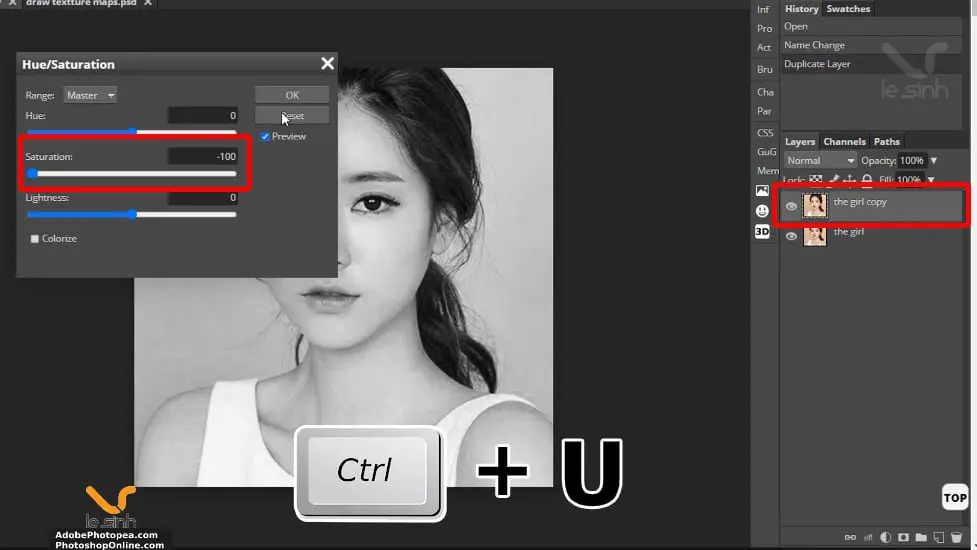
Step 4: In layer “the girl copy” use the keyboard shortcut CTRL + U. A dialog about color parameters will appear. Pay attention to the Saturation parameter. Drag the control bar to the left or type in the parameter box: -100.
The reason we do this in our post transforming an convert photos into drawings – because I want the image to be in black and white. Click on the word OK or Enter to agree with the parameters edited.
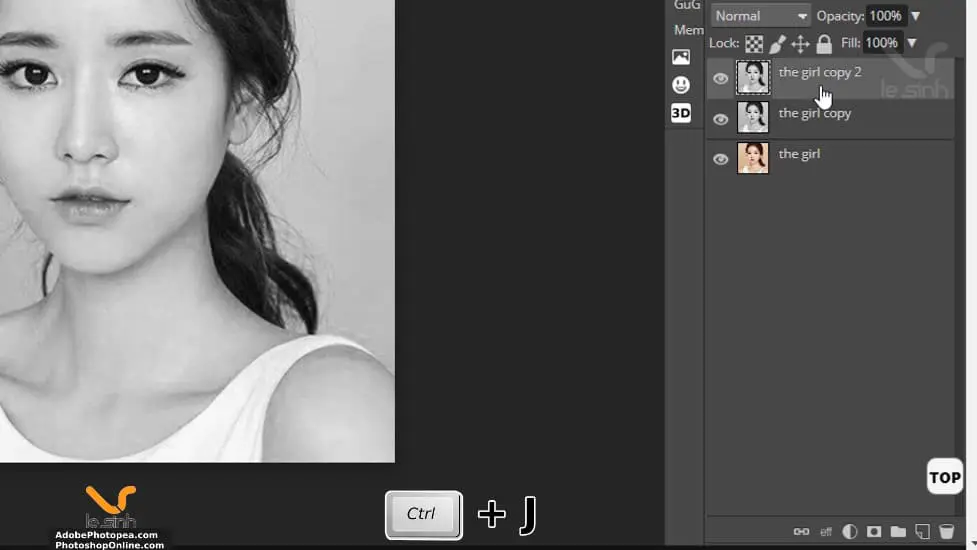
Step 5: At the layer “the girl copy”, you will duplicate this layer again. Press the keyboard shortcut CTRL + J. We will have another layer called “the girl copy2”.
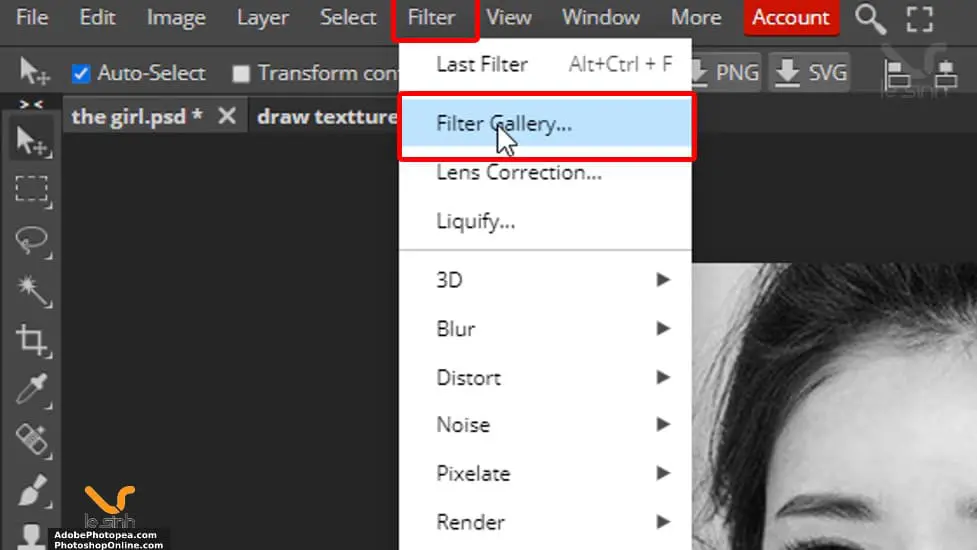
Step 6: Before doing this step, make sure the layer “the girl copy2” is selected. Right now, access the path Filter> Filter Gallery… (on the menu bar of photoshop software) to select the filters available on photoshop online (similar to adobe photoshop).
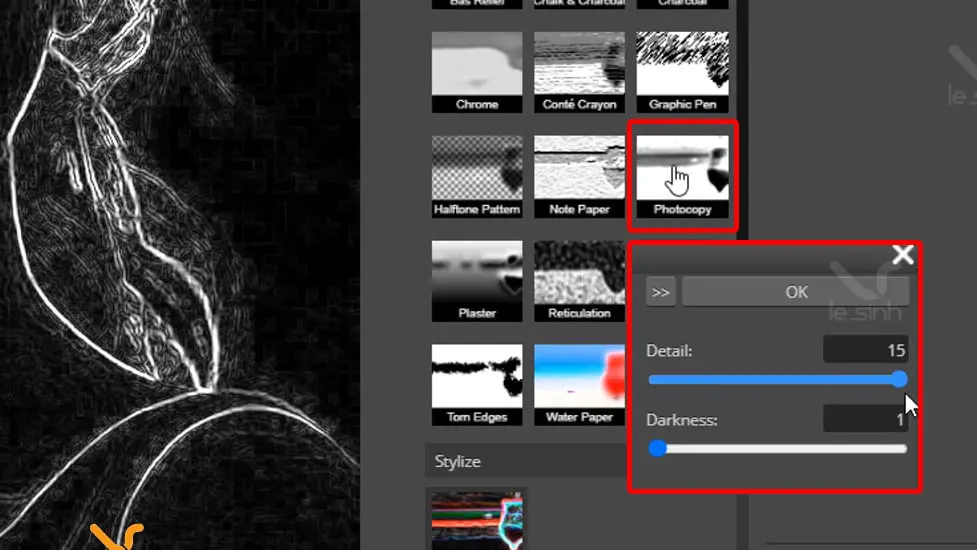
Step 7: In the Library Filter Gallery. Select the “Photocopy” filter and adjust the parameters in succession: Detail = 15, Darkness = 1 and press the OK key to end the operation. By the end of this composition, you should almost have the basics of convert photos into drawings (50%).
Note: In the case after clicking OK, but the product is not black and white. (red, light gray, …) Please press CTRL + Z to return to the original image (before using the filter. And choose for me a palette like this image: (or use shortcut: Press the D key)

Step 8: Change the position of the 2 layers as follows: Layer “the girl copy” is brought up. The layer “the girls copy 2” has been moved downwards. Waterfall implementation: You click and hold the left mouse button on the layer “the girl copy”> put the left mouse button up to move the layer “the girl copy” upwards.

Once you’ve done this, select the layer “the girl copy”. Adjust Opacity = 20%. If you don’t know where the Opacity is, it’s just above the layer.
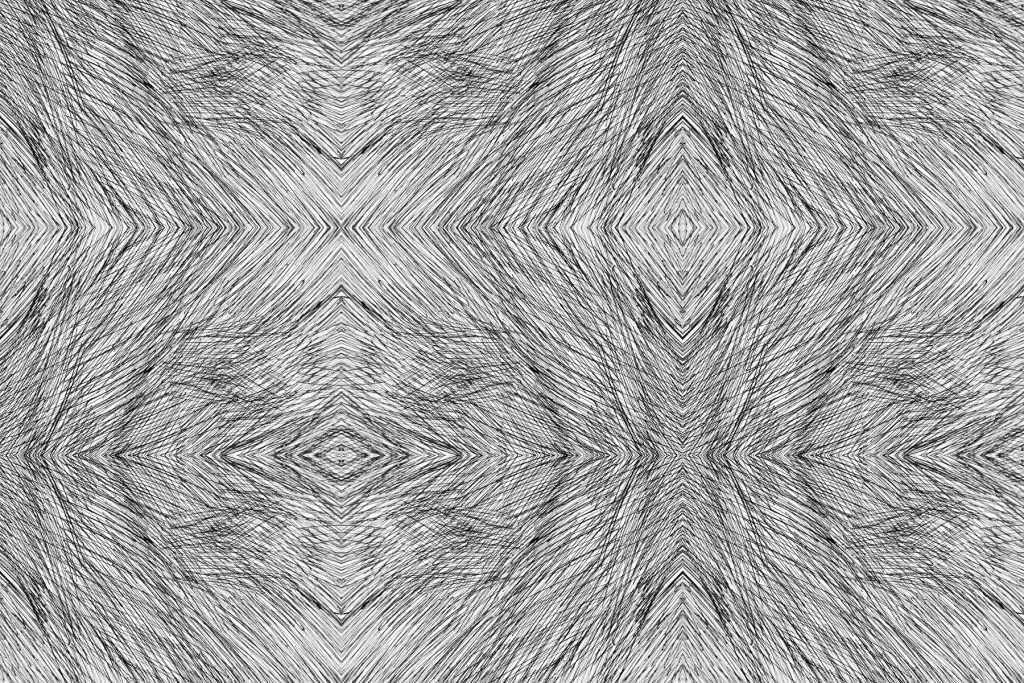
Step 9: Open the “draw textture maps” image provided at the beginning of the video. Quickly select the photo by holding CTRL key and left click on the layer containing the image to make a selection> CTRL + C to copy the entire image. Perform operations 1> 2> 3 in turn as shown in the image below.
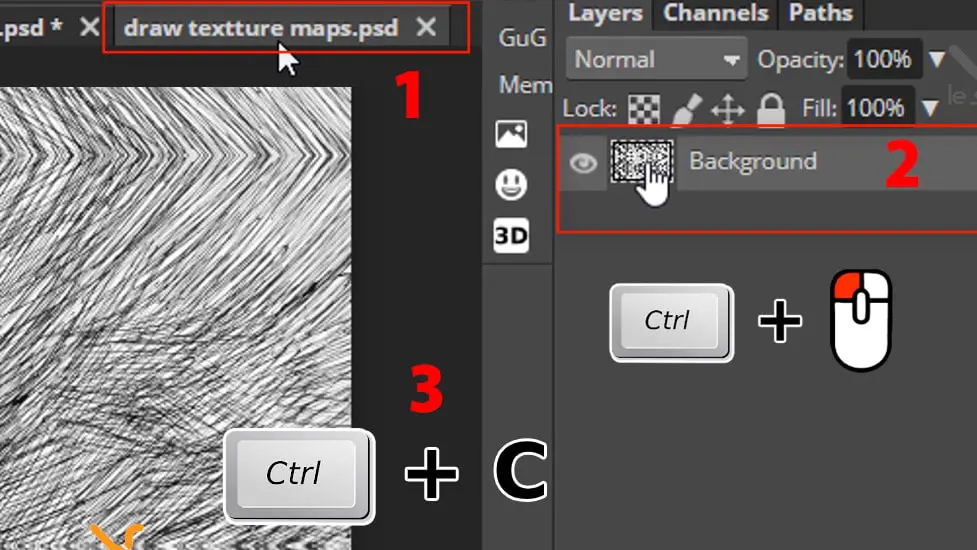
Step 10: Go back to the workplace with the girl “The Girl” photo. Paste the copied image with CTRL + V command. Rename it for easy file management. I named this layer “draw textture maps”. Make sure this layer is on top.
Set the blending mode to Multipy and Opacity = 20% to make the “draw textture maps” layer transparent. Then move the stripe position (move the “draw textture maps” layer visible position) to the position you think matches the girl image below.

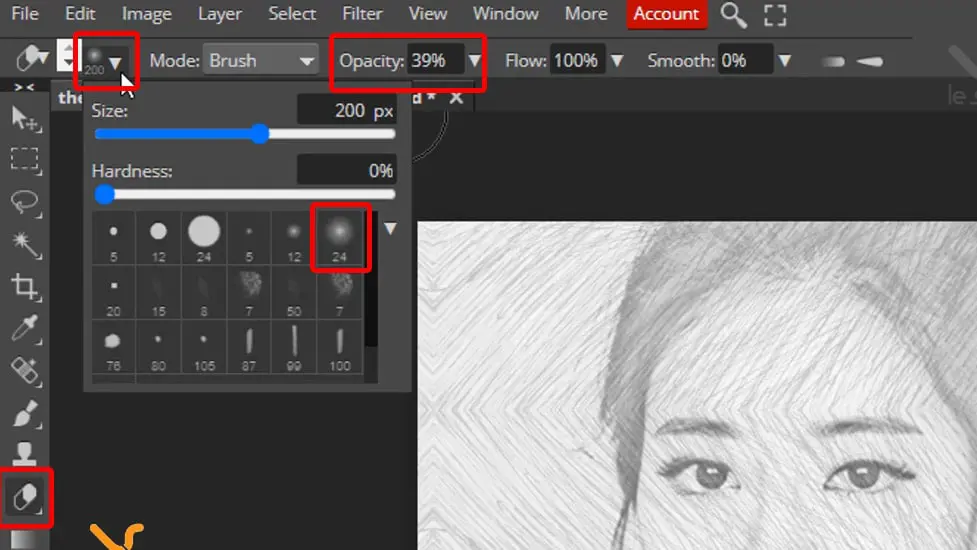
Step 11: Select the eraser tool of photoshop “Eraser tool”, the shortcut is B. And in turn select the parameters as described below. Size: 200px, brush strokes, Opacity from 20% – 40% depending on your desire. Note that this is an important action in this convert photos into drawings lesson. So please delete the unwanted ones carefully.
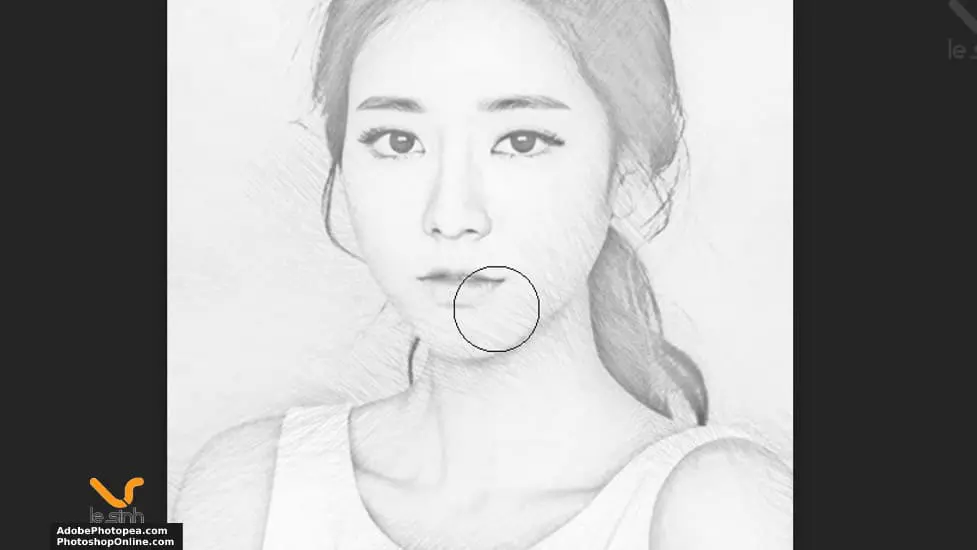
Proceed to delete the locations where the image does not want to be displayed on the Draw textture maps layer so that the picture looks like a pencil drawing. The positions I think should erase are the center of the girl’s face, neck and shoulders. Also, the outermost areas of the image.
Here is the guide to convert photos into drawings with photoshop online here is the end. You can duplicate the draw textture maps layer with CTRL + J command to continue creating another pencil mock up around the girl until perfect.
Instruction video to turn convert photos into drawings
This is a video from my youtube channel to learn photoshop online. It goes back to each step of the operation I performed in the article on how to convert photos into drawings. Hopefully the video will help you better understand how the article works – when my vocabulary is not good in the article!
Thank you for visiting this website. Click on the ad on the website so I can continue to make the next video and envelope like this convert photos into drawings post. Most of my revenue is dependent on the website during tough economic times. Thanks everyone.