Low quality photos to high quality with adobe photopea is to use online photoshop software called Adobe Photopea. How to Low quality photos to high quality with adobe photopea quickly and easily for beautiful photos.
Currently, the images are blurred like on the pages for image loading (eg vectorstock page ). Then there will sometimes be a limit because it is imperative to buy an account to download beautiful photos with original quality to your device.
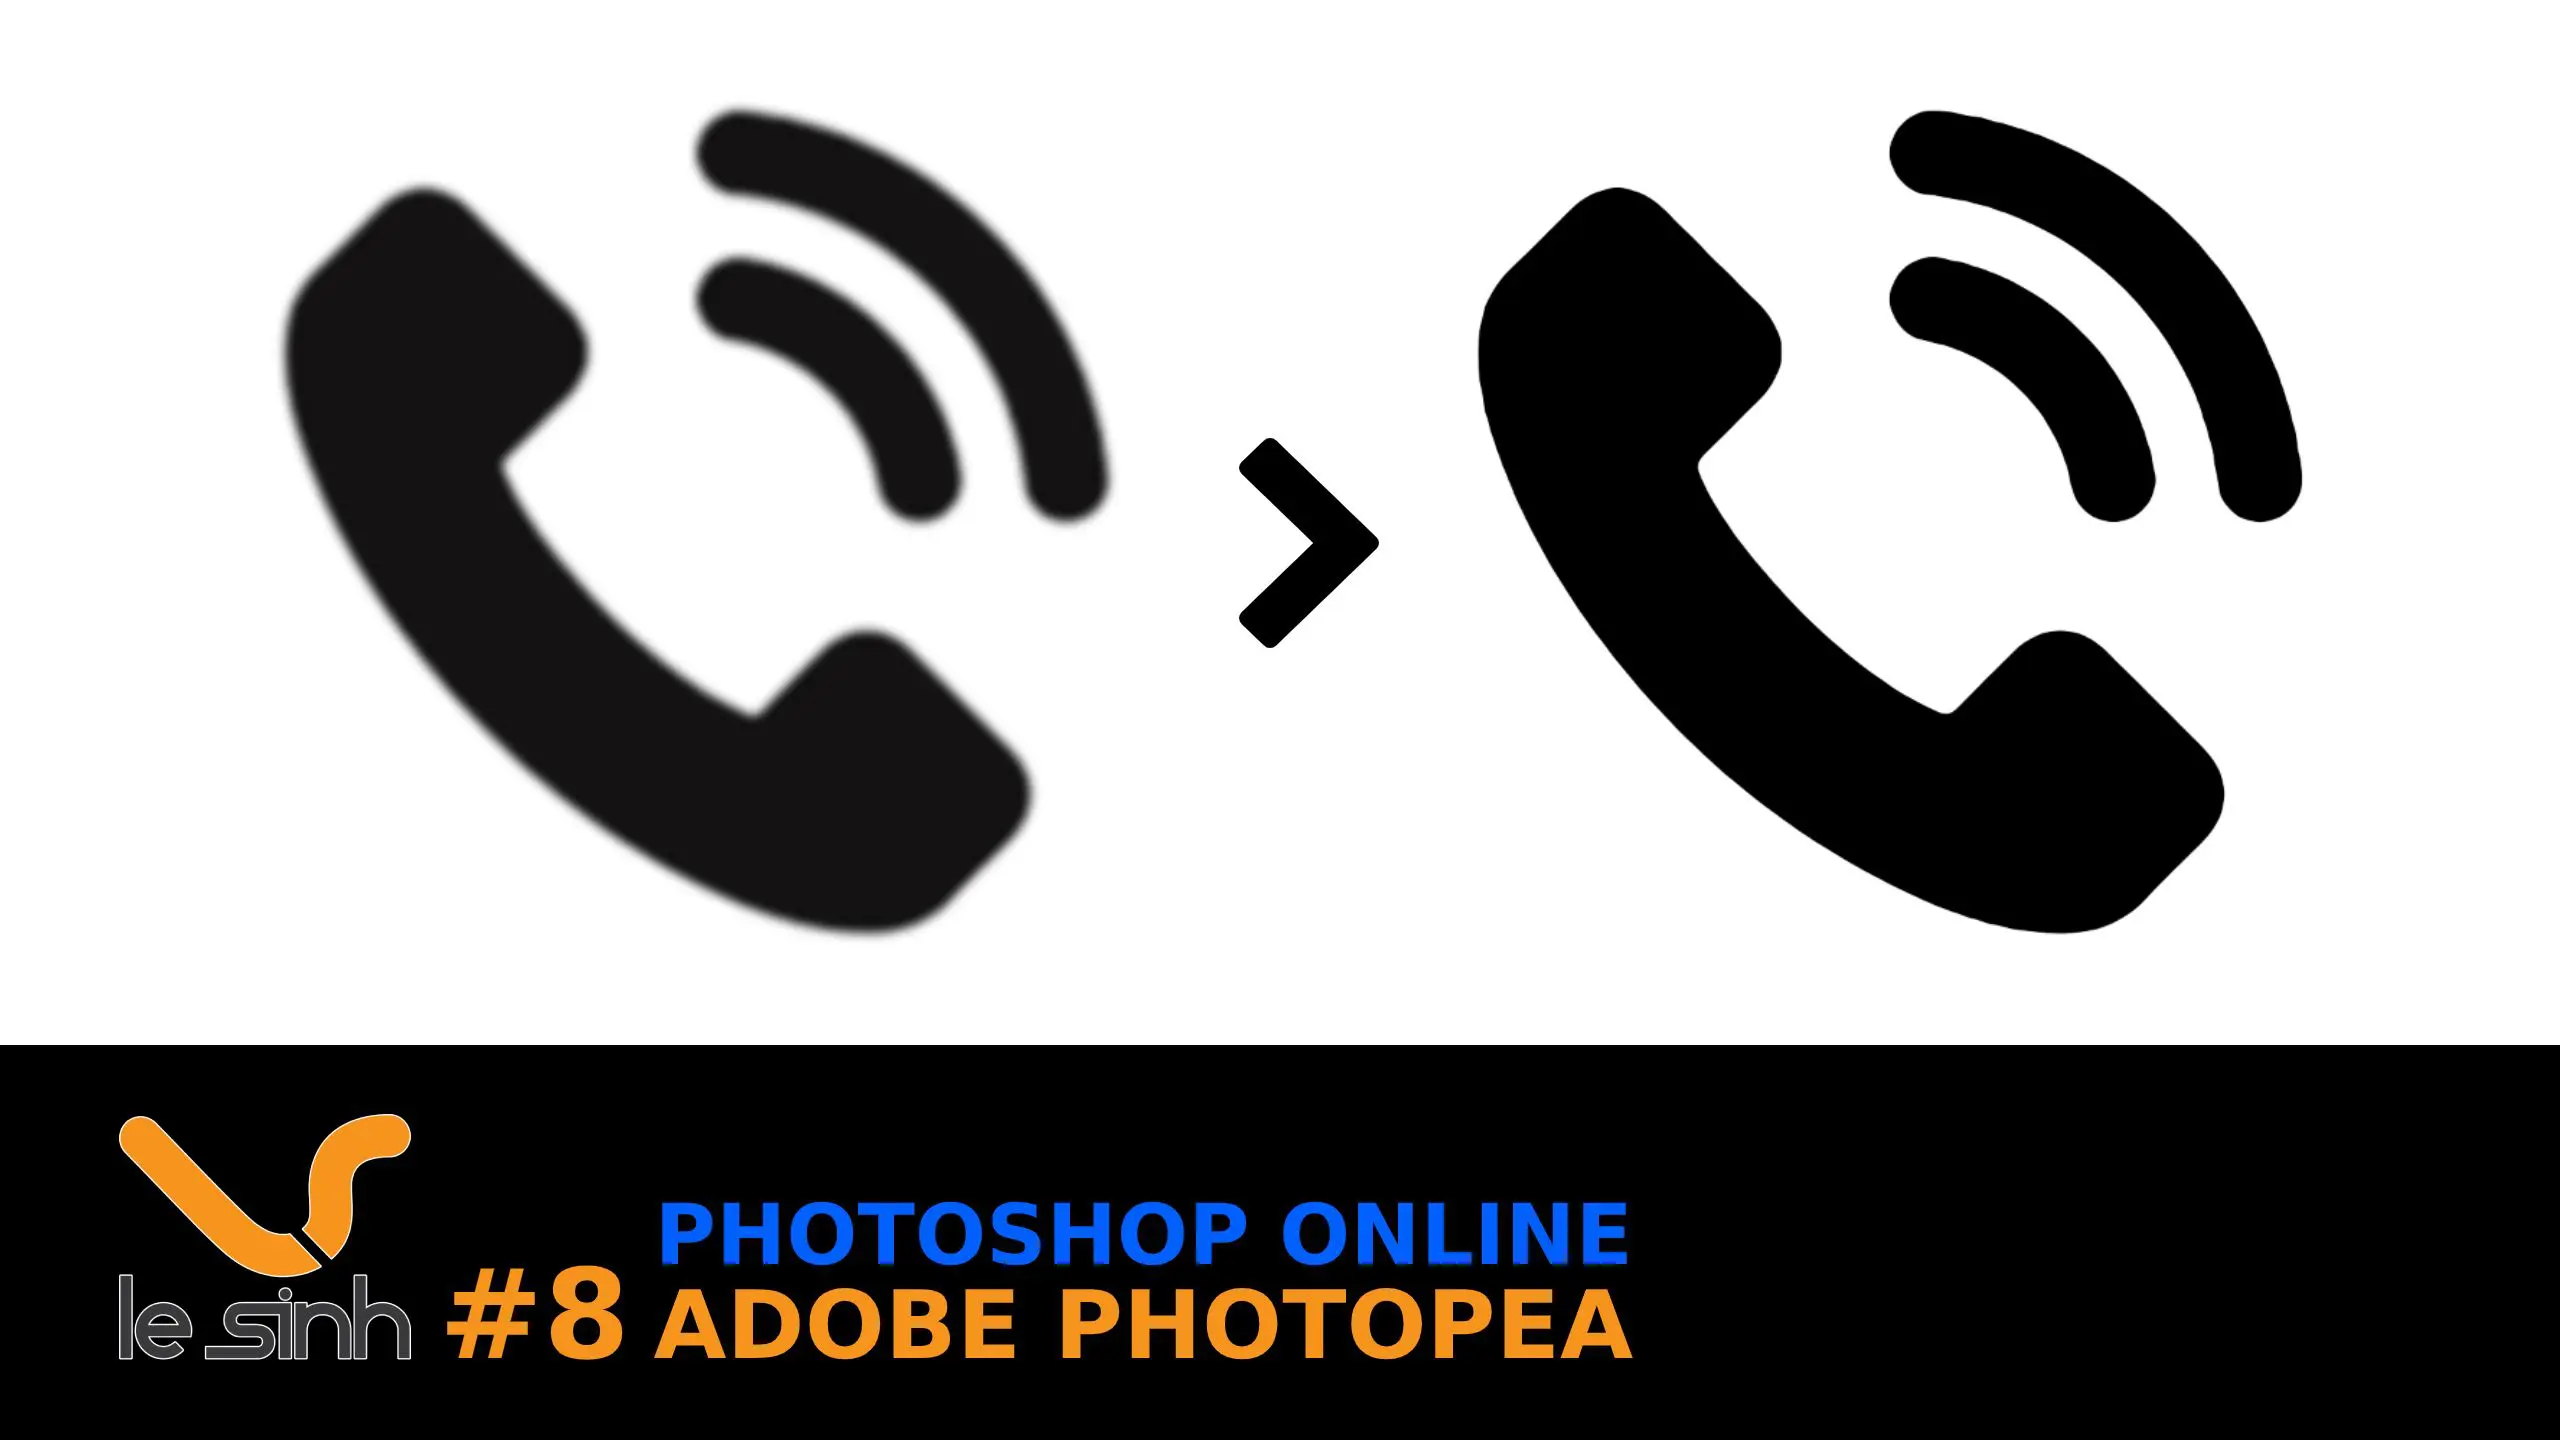
If you have a free account, you will only be able to download a very fuzzy demo image if you zoom in. Then Low quality photos to high quality with photoshop online provides you the free solution to get beautiful high quality images .
The purpose of Low quality photos to high quality
Objects using the way of Low quality photos to high quality with photoshop online are usually designers or you are passionate about photoshop. Want to increase the quality of images for work or personal use.
Then in the graphics profession. You will certainly need a certain image to make an icon on the web or attach it to flyer design , product design or marketing publications.
But the quality of the downloaded image is too poor, if you print it, it will not be acceptable if you really care about your desgin product. Or guest send pictures to do. But bad logos or icons or images.
Or you are passionate about learning graphic design to dabble for your lover with beautiful pictures. Or manually design and customize sales products with photoshop .
Should have a clear image. There are many ways to do it and many different scenarios. Here I temporarily share a little personal experience on Low quality photos to high quality with Adobe Photopea for icon when downloading online.
Online photoshop tool to clarify the image
The online photoshop tool that today I will share is the New Adjustment layer Curves and Filter blur. With Curves New Adjustment layer I have applied to light adjustment in photoshop .
About the effect of the New Adjustment layer Curves, it is in the image clarification software by dragging the dark and light areas together. By adjusting the Curves toolbar to the center
Thereby reducing image noise from the edge details of the image. Provides more clarity for blurred images. Image clarification app produces more detailed photos than the original image.
Instructions for clarifying blurred photos online
Step 1 : As always, remember to press F11 to browse the full screen, also help fix Ctrl + T. Open the image file you need to fix to make it clearer. The command to open File is Ctrl + O.
I will attach the original photo file in the guide to clarify the blurry image for you to use, it will be easier in situations handled according to My posts and videos.

Step 2 : Go to Menu image> image size (keyboard shortcut Atl + Ctrl + i). And increase the width and height to about 1000px. You may not need to follow suit, but I encourage it because the image will be larger and clearer.
With larger images, the software effect of image clarification is better. Because the pixel density is more, the software can fine-tune and improve better than very small images.

Step 3 : Use the New Adjustment layer menu tool and select Curves photoshop tool, to recalibrate the light and dark areas on this image with the effect of clarifying the black and white image.

Now, left-click on 2 points in the curves tool. And drag them near the center of the Curves Photopea toolbox. Like what I am demo in the image below.

Step 4 : Press and hold the Ctrl key, continue to click the left mouse button and two layers (the layer containing the image and the curves layer). Use the layer merge command by the keyboard shortcut Ctrl + E to make these 2 layers a single layer.
At this time, the application clarifies a lot of photos. But the contours are still not smooth, it can be seen clearly that the crooked lines look very rough and ugly. Of course let’s continue to make the image smoother.

Step 5: This is the step we will make the border of the image smoother. I used the online photoshop tool Filter> Blur> Gaussian blur. And the Radius I will choose is 2 px (depending on the image).
Gaussian blur briefly: the effect of Gaussian blur is to blur the image. It sounds the opposite of what we are doing is clarifying the image ^^.
But in this case. We are going to Gaussian blur to blur the edges of the image. In the current image, the edges of the image are not smooth.

Step 6 : Repeat from Step 3 . Go to a New Adjustment layer> Curves and drag the two curves’ light and dark alignments closer to the center of this tool so that the image is no longer blurred.

Now all you need to do is repeat the loop from Step 3 to Step 5 . It will take about 2 more times for your desired image to work. Use this image for your purposes.
Video tutorial software to clear blur image
Like my previous posts. A video is attached for you to see and perform the easy-to-understand steps. Low quality photos to high quality with adobe photopea
This article and video is shorter than other videos, I will try to add sharing articles and videos on my Youtube channel and Photoshop learning websites.
Thank you for watching and supporting by clicking on ads on online photoshop and adobe photopea website or subscribe to youtube channel.
Good luck and be able to re-comment on questions or requests for the content you are looking to work on.